Clafoutis aux courgettes

IMG_20180909_203100684_HDR
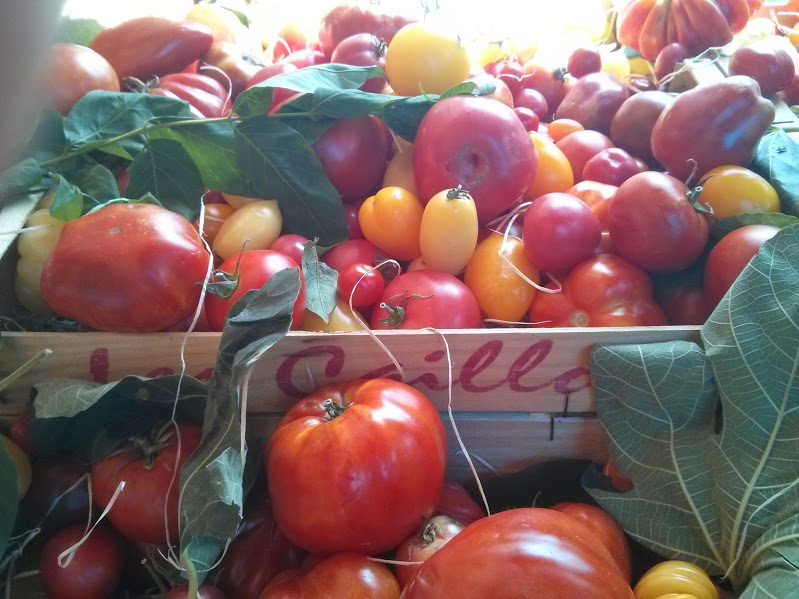
While flicking through a feature on clafoutis in a French cookery magazine recently, I was intrigued to find several recipes for savoury clafoutis amongst the more familiar cherry, apricot and plum versions.  Reading on I was keen to find out how a savoury clafoutis differs from the provençal tian, a traditional, vegetable gratin dish with five key elements – rice, cheese, eggs, breadcrumbs and vegetables.

One of the things I love about a tian is its frittata-like texture which makes it light yet satisfying with the inclusion of the rice.  It quickly became clear from the savoury clafoutis recipes that the texture would be more dense as milk (or cream), and flour are incorporated into the batter.  No rice though!

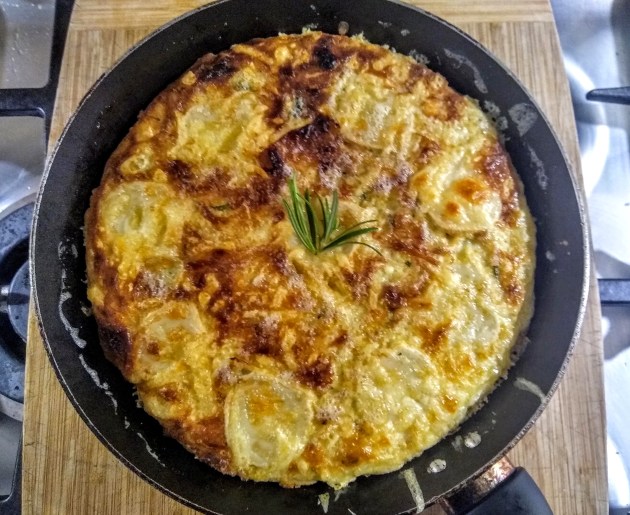
With an endless supply of courgettes from the garden this year and looking for something satisfying for supper on a surprisingly autumnal evening in early September, I had a go at a courgette clafoutis and the recipe is below. I used brown rice flour to make the recipe gluten-free.  It was delicious served warm and my husband enjoyed the remaining quarter from his lunchbox the following day.

Clafoutis aux courgettes

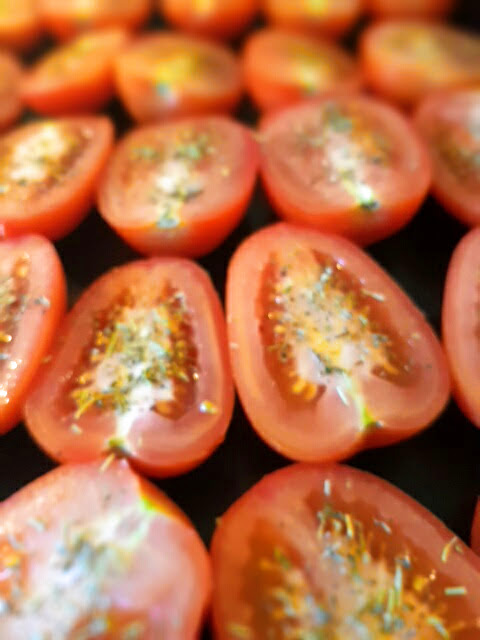
Serves two hungry people and I recommend partnering it with a fresh, tomato salad.

You will need a 20cm frying pan

4 medium-sized courgettes, sliced into rounds
2 cloves of garlic, crushed
1 tbsp of chopped rosemary
6 eggs, beaten
50ml milk
75g brown rice flour or other gluten-free flour
Half a 150g goat’s cheese log, sliced into rounds
50g grated emmental cheese
Olive oil

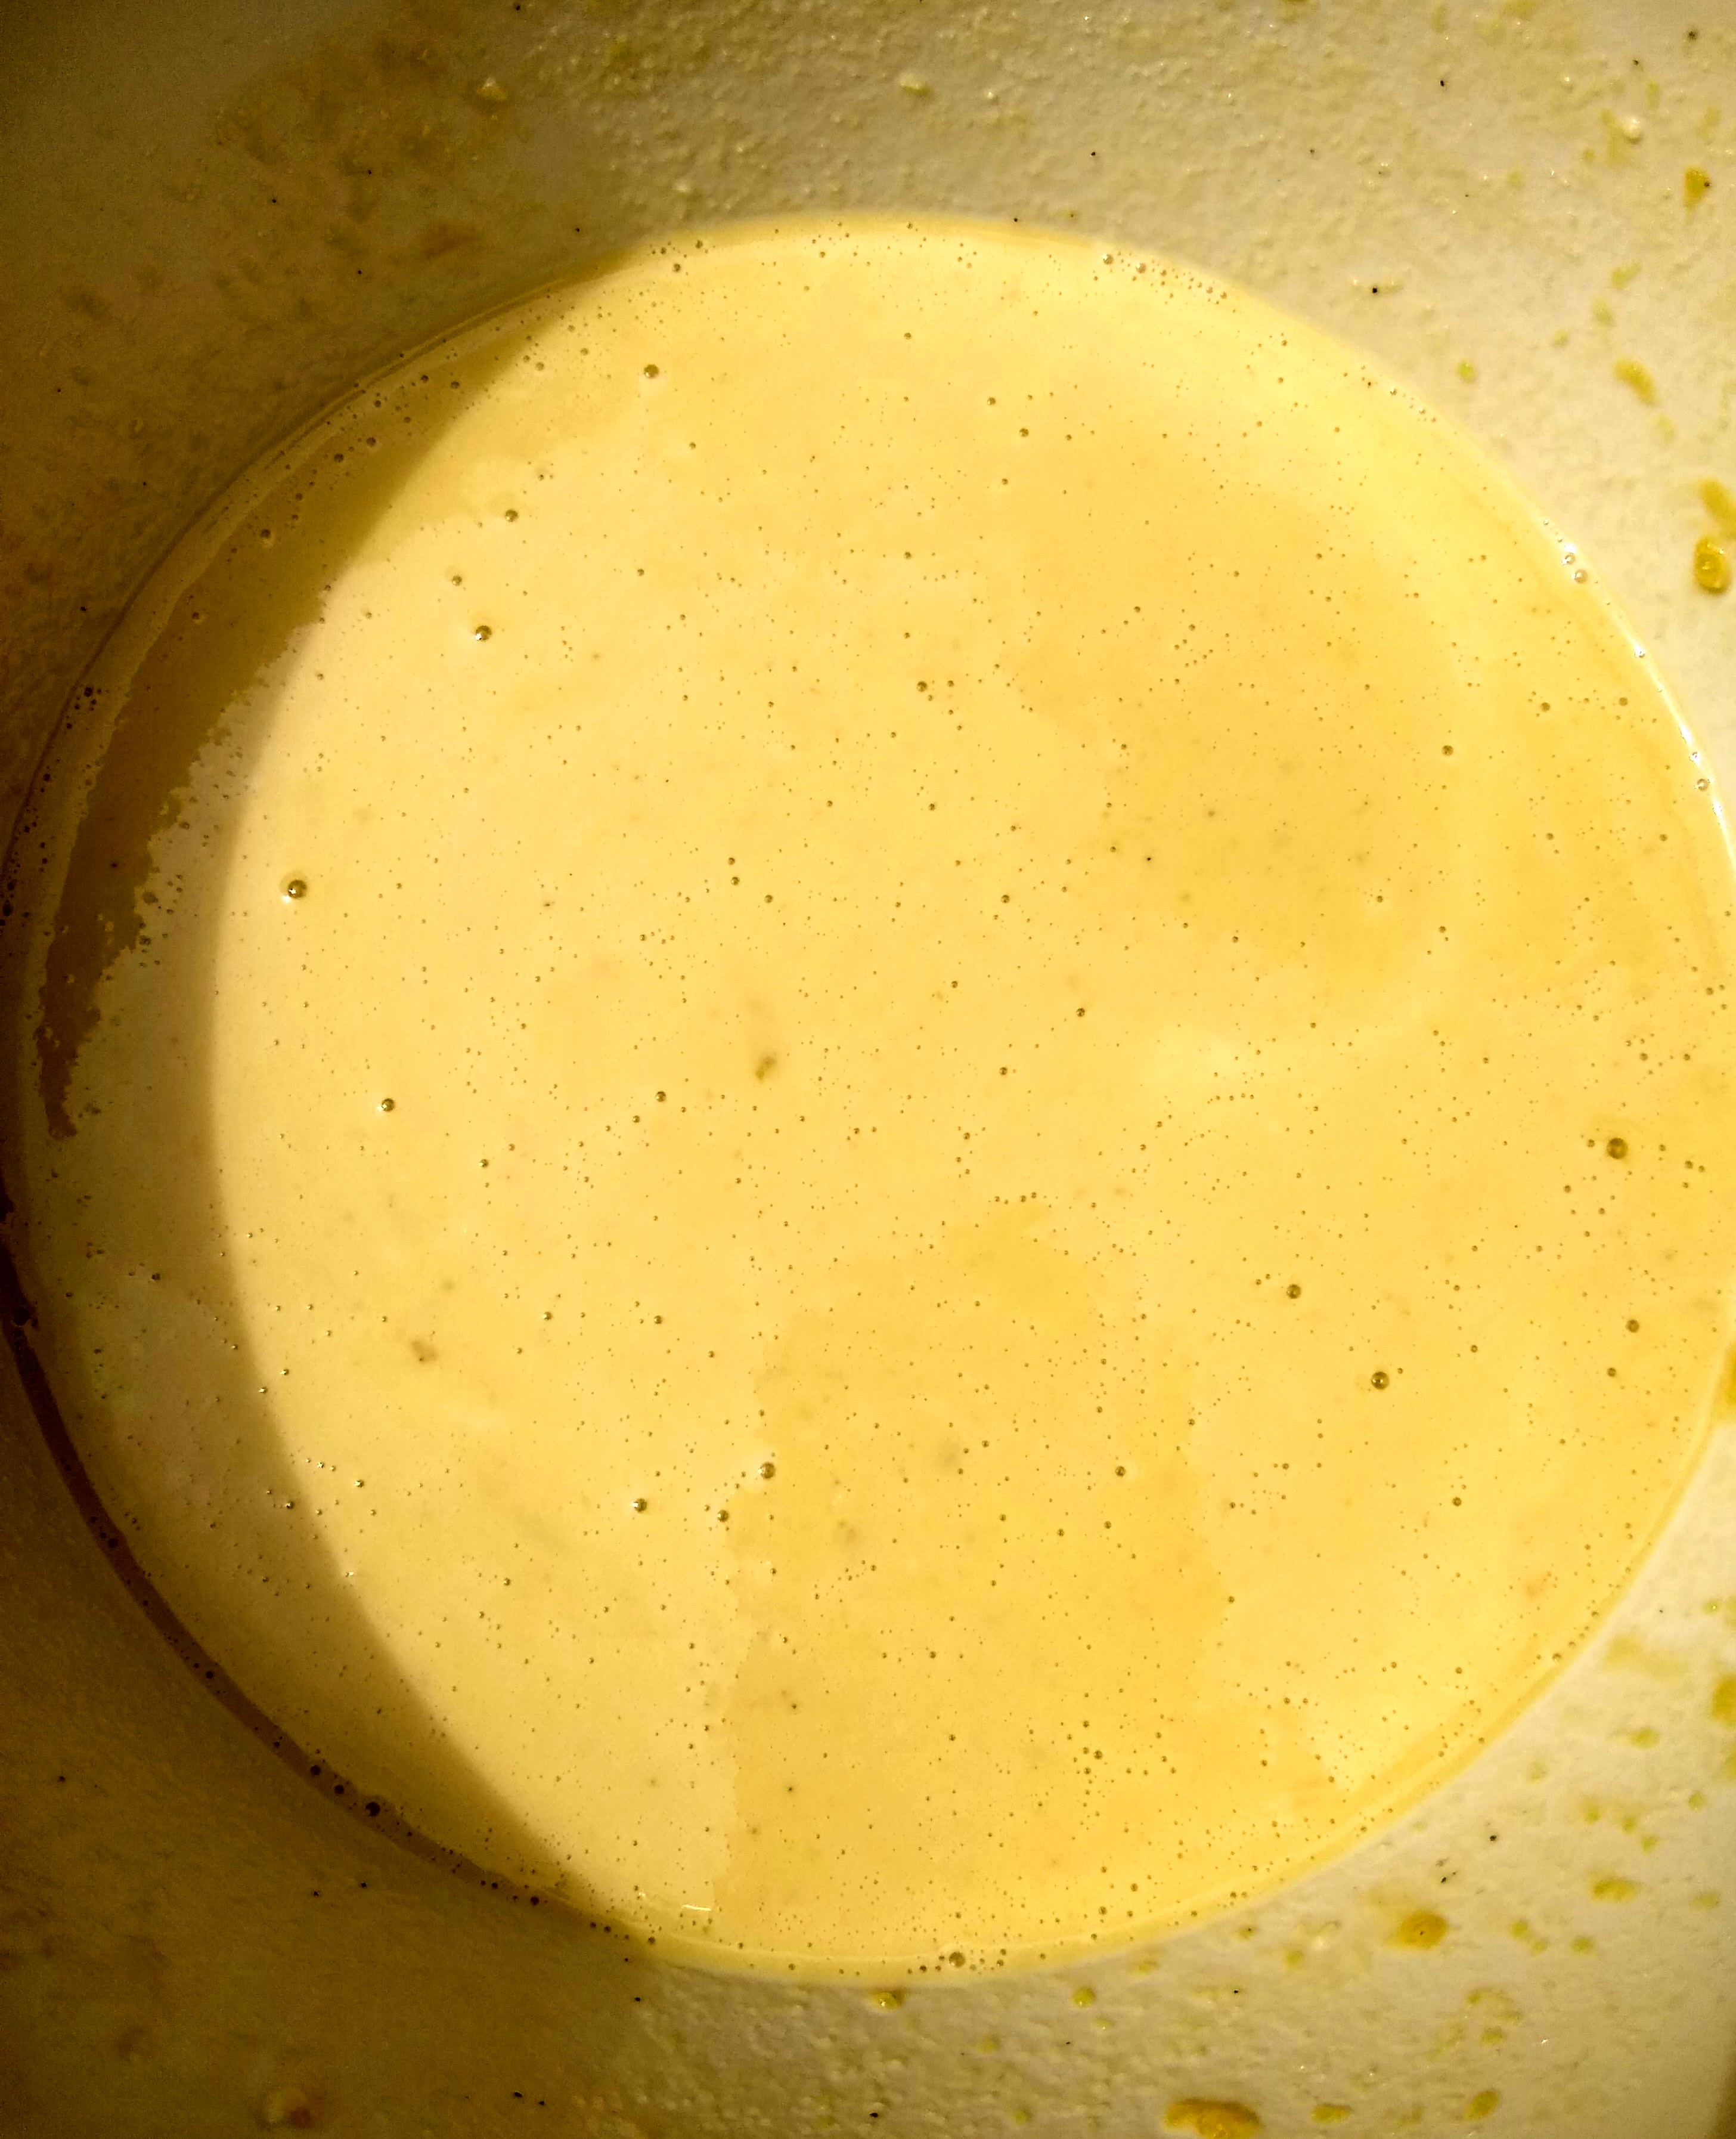
Fry the courgette slices in some olive oil until they are lightly browned and softened, adding the garlic as the courgettes begin to soften.  While the courgettes are cooking, mix the flour, rosemary and ¾ of the emmental together in a bowl with a pinch of salt and a couple of turns of the black pepper grinder.  Make a well in the middle of the bowl and gradually add the beaten egg, whisking until the mixture becomes a smooth batter.

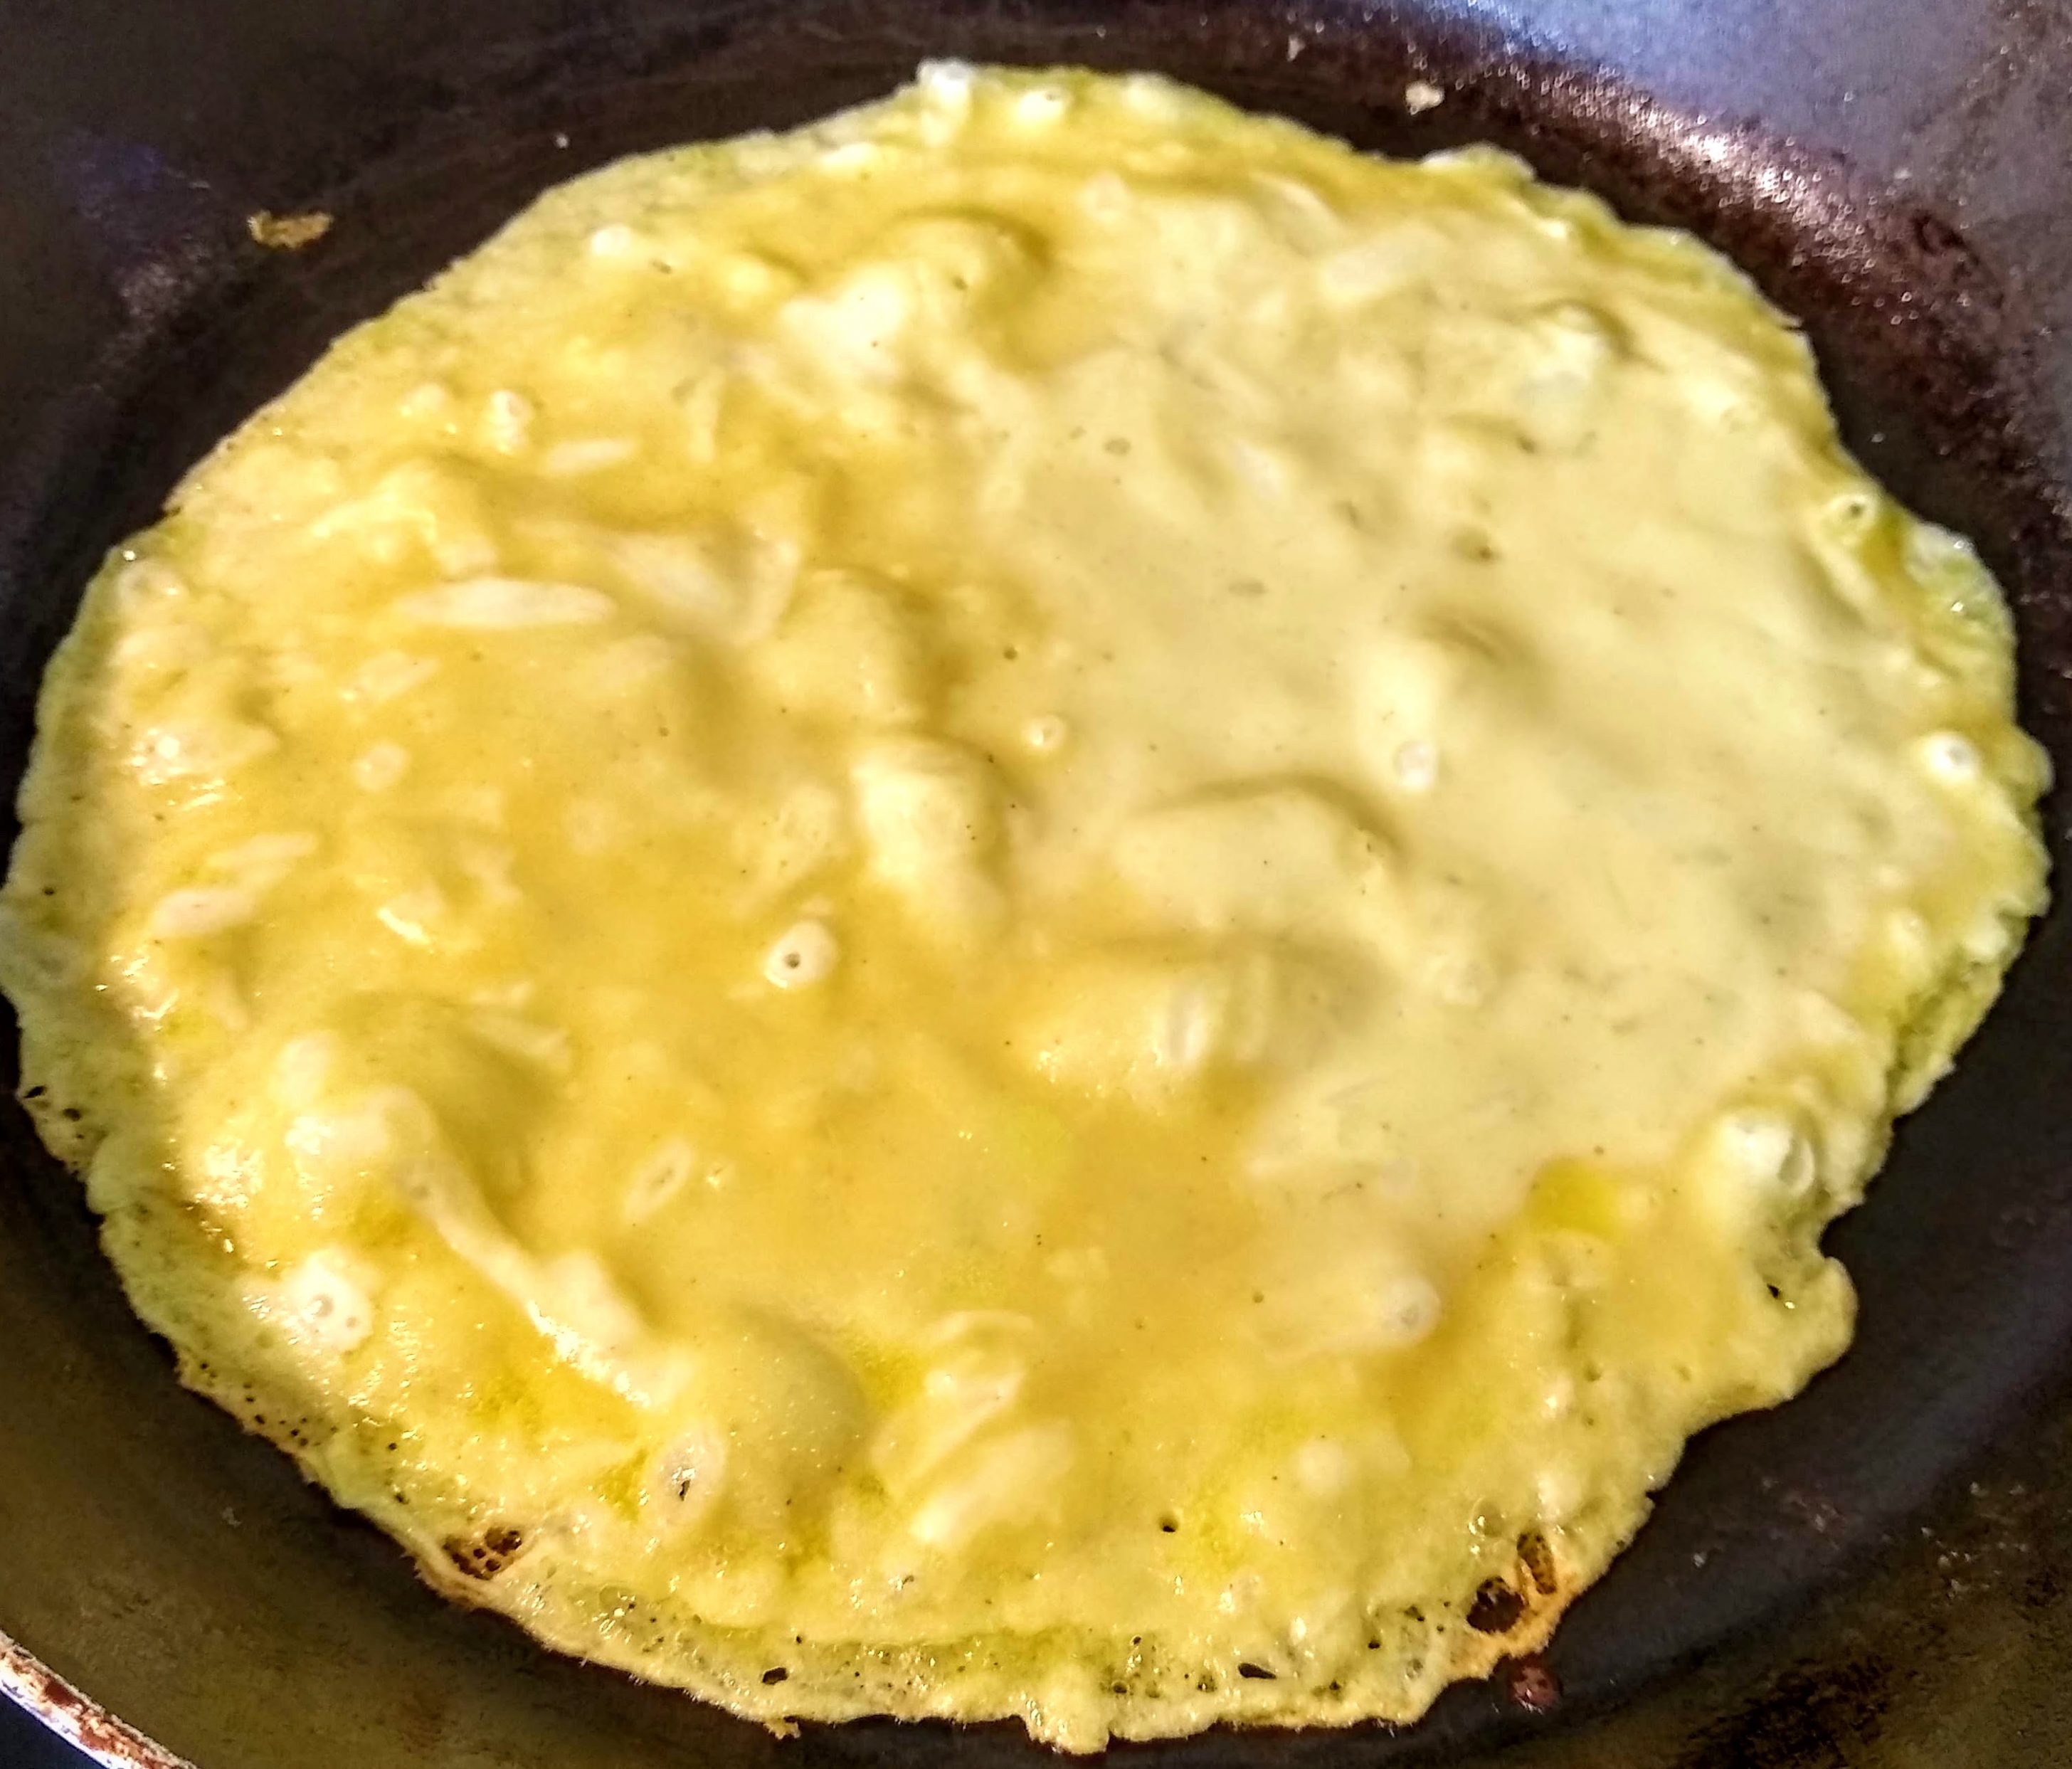
Add the batter to the courgettes in the frying pan and place the sliced goat’s cheese on the top.   Sprinkle with the remaining emmental.  Cook the clafoutis on the hob on a medium heat for five minutes or until the mixture starts to brown around the edges.  Finish off under a medium to high grill until the top is golden brown.

IMG_20180915_111400166


Socca pizza

If you’ve looked at this blog before, and I know it’s a while since I last posted, you will be aware that I am a huge fan of socca, the thick chickpea flour pancakes commonly sold as a kind of street food in Nice.  It was while living in Nice in the 1990s that I first came across socca and started to investigate uses for its chief ingredient, the nutty, gluten-free chickpea flour.  A year or so ago I was intrigued to hear that a friend and fellow socca lover had tried to make pizza with the flour and I’ve been experimenting on and off with this idea ever since trying different ingredients for the pizza ‘dough’ and a range of options for toppings.

The cooking method for the gluten-free pizza base differs from the traditional wheat dough in that it is fried in a pan after which the topping is laid on the base, the whole mélange then being put under a hot grill for a few minutes to finish off.

My recipe is below and I hope you find time to give it a go.  My 18-year-old and I enjoyed a couple of pizzas topped with pesto, courgette and goat’s cheese for lunch today!

Socca pizza base
Using a 20cm frying pan, this will make 6 medium-sized pizzas, each one making a good helping for one person.

200g chickpea flour
50g comté cheese, grated
1 tsp ground cumin
A good pinch of salt
100ml olive oil
400ml water
Extra olive oil for frying

Sieve the chickpea flour into a bowl and pour in the olive oil and water.  Whisk the mixture to form a batter then add the remaining ingredients.  Stir to incorporate everything.

Heat a drizzle of olive oil in the frying pan on a high heat and when the oil is hot, add a ladle of the batter and tip the pan to ensure the batter covers the base completely.  Leave the batter to fry for a couple of minutes until the edges start to look browned and crispy.  Turn the pizza over and cook for a further two minutes.  Turn again to make sure the bottom side is nicely browned (see the final photo below).

Move the pizza to a baking tray and add your toppings.  I’ve set out some of our favourite combinations below.  Anything you would put on a wheat-based pizza dough would work here but if you’re using a traditional tomato sauce base, make sure it is nice and thick and not runny.

Our socca pizza toppings:

  • Very fine asparagus & red onion (griddled in advance to soften) with grated comté
  • Sundried tomato tapenade with sundried tomatoes and scamorza (smoked mozzarella)
  • Pesto with sliced, griddled courgettes and crumbled goat’s cheese

IMG_20180716_133822115_PORTRAIT_2

IMG_20180717_141212449_HDR


Sun (or oven) dried tomatoes

img_20160816_180337

Every year when we visit the South of France, I sun dry tomatoes, and while the plump, ripe and halved plum tomatoes sit under the sun’s rays for a couple of days, I mull over the options for preserving or consuming them when they reach my preferred level of dryness.   I tend to call a halt to the process before reaching the truly leathery feel of shop-bought sundried tomatoes, preferring to go for the still slightly squidgy feel where it’s clear there is still some ‘juice’ inside the shrivelled, red exterior.   This year I just bottled my dried tomatoes, stuffing them into a jam jar with a teaspoon of herbes de provence and then topping them with enough extra virgin olive oil to cover the entire contents.

img_20160814_092105
Our stays in France of a summer come to an end all too soon and the sun-drying opportunities in Dorset are few and far between.  Arriving home in mid-August this year, with tomatoes finally ripening locally, I was keen to dry more fruit so I resorted to using my oven for the purpose which, whilst not seeming nearly as romantic as the natural process, produced surprisingly good results.  For me, this is great news because I like nothing better than opening a jar of preserved summer tomatoes in the depths of winter to give a punch of richness to soups, casseroles  and pizzas.

To oven dry your own tomatoes, simply take a kilo of ripe, plum tomatoes, cut them in half lengthways and place them on a baking tray, skin-side down.  I sometimes sprinkle a pinch of herbes de provence over the tomatoes at this stage.  Bake the tomatoes for four hours in a low oven at 120°C but keep an eye on them to ensure they don’t burn and try to pour off any escaped juice.  After four hours the tomatoes should still have the aforementioned ‘squidginess’ and remain bright red in colour.  Leave them to cool and either bottle as set out above or try my purée recipe below.

Ovendried tomato purée

To make a standard sized jam jar you will need 200g oven-dried tomatoes (from a kilo of fresh, plum tomatoes).

200g oven-dried tomatoes, baked with a sprinkling of herbes de provence
120ml extra virgin olive oil
½ tsp salt

Put all the ingredients in a mini mixer and blitz them until they form a thick paste.  You could add a handful of pitted, black olives to supplement the flavour. Spoon the purée into a sterilised jar and cover with a thin layer of extra virgin olive oil before sealing,   Keep in the fridge for up to two months.  Once opened, use within two weeks.  I particularly like to add a dollop to meaty ragus or you could spread some across a roll of puff pastry then top with sliced salami, grated gruyère and olives before baking in the oven for 20 minutes to give a crisp, flavoursome tart.

img_20160807_175439


Pumpkin tian

IMG_20151016_210632Rather like the Moroccan tagine but without the lid, a tian is an earthenware dish used for baking a simple, local recipe that shares the same name.

Tian, the recipe, is an excellent example of rustic provençal cooking using just a few ingredients to enhance seasonal produce.  There are five key elements: rice, cheese, eggs, breadcrumbs and vegetables, the variety of the latter depending on the time of year – perhaps courgette in early summer, aubergine in August or onion throughout the summer.  Robert Carrier, describing the dish in his book ‘Feasts of Provence’ tells us that at Christmas leek or swiss chard tians were popular often topped with an anchovy-dressed cream.  And at this time of year, of course, pumpkin is perfect.

So how is an autumnal tian assembled and cooked? My version of the recipe is loosely based on Mireille Johnston’s Tian de Courges in her book ‘The Cuisine of the Sun’.  Chunks of pumpkin are roasted or sautéed in oil until the cooked orange flesh is slightly charred and crispy round the edges.  These earthy, almost sweet morsels are then mixed with beaten egg, full-flavoured, salty gruyère and some cooked rice. They are then transferred to the tian dish for a topping of fresh breadcrumbs before being baked in the oven until the flavours mingle together and the breadcrumbs are crunchy and golden with little pools of melted cheese bubbling though the crust.   The mixture of textures is outstanding.

Years ago in rural Provence, the housewife would prepare a tian to take along to the communal village oven with her just-proved bread dough.  The two would bake together, both requiring a similar amount of time for cooking. No doubt they made a surprisingly satisfying, warming supper dish back then and the same is true now – just add a few dressed salad leaves on the side to balance the meal.  If you have any leftovers, be assured that pumpkin tian is even more fudgy and crisp when reheated the following day.  I do love autumn’s many comforting ingredients……

IMG_20151012_214558Pumpkin Tian

The recipe serves four and you will need a casserole / baking dish approximately 20cm x 30cm.
Preheat the oven to 200°C

100g long grain white rice, cooked according to packet instructions and left to cool
1 medium-sized onion, finely chopped
1 clove of garlic, crushed
A 1.5kg pumpkin or butternut squash, peeled and chopped into 2cm x 2cm chunks
2 eggs, beaten
75g gruyère cheese, grated
100g fresh breadcrumbs
5 or 6 sage leaves, finely chopped (or you could use parsley)
Olive oil for frying and drizzling
Salt and pepper

Place the chunks of pumpkin in a baking tray and toss with two tablespoons of olive oil.  Bake in the preheated oven for approximately 20 minutes until they are soft in the middle and brown and crispy on the edges.  Put to one side to cool.  Leave the oven on.

Fry the onions on a low heat in a tablespoon of olive oil.  When the onions are soft, add the garlic and fry for a further minute or two.  Remove from the heat and leave to cool.

Mix the beaten eggs, cooked rice, herbs and cheese (leaving a handful aside for the topping) with half a teaspoon of salt and a grinding of pepper.

When the onions and pumpkin have cooled, combine them with the egg and cheese mixture.  Stir well and pour into the casserole / baking dish.

Mix the remaining cheese with the breadcrumbs and sprinkle over the top of the casserole.  Drizzle with olive oil and place in the oven for twenty minutes, or a little longer, until you have a crisp, golden topping and bubbly vegetables underneath.

IMG_20151011_210344

AllAboutFranceBadge

(Tomato) soupe au pistou

IMG_20150903_171246The last few days of summer have found me busily preserving tomatoes for use during the winter.  Over in France the long, hot August days were perfect for my first attempt at sundried plum tomatoes which sat shrivelling in the garden sun for two days before being tightly packed into jars with olive oil and thyme. Back here in the UK we had a great crop this year and I batched up several cartons of homemade tomato sauce for the freezer which will be welcome reminders of warmer days during the coming winter months.

All this tomato growing and preserving couldn’t go by without attempting a few new recipe ideas in the kitchen and in a departure from the tried and tested, a provençale classic, soupe au pistou, was subject to a rather tomatoey twist.

Brimming with chunky vegetables from the region, soupe au pistou in various forms is made all year round.  Name a vegetable and you’ll probably come across it in this soup at some stage during the year: courgettes, squash and broad beans in summer; pumpkin, turnips, and cabbage in winter.  Tomatoes, carrots and onions are always present, and the soup is rounded off with a generous scoop of haricot beans and tiny pasta shapes or rice. The final, essential element is the delicious Niçois sauce called pistou – pesto without the nuts – a spoonful of which is added to the soup as it is served.

My version of the soup is heavy on tomatoes and lighter on other vegetables, but the finishing touches of haricot beans and pasta remain.  For the pistou, the aforementioned sundried tomatoes replace green basil, and this gives a real richness to the dish.  Add a hunk or two of crusty bread to go with it and you’re away!

(Tomato) soupe au pistou
Serves four for lunch or as a starter

1kg large, ripe tomatoes, peeled, cored and chopped*
1 large onion, finely chopped
1 large carrot, finely sliced
1 stick of celery, finely sliced
1 litre of fresh vegetable stock
200g washed swiss chard or spinach (optional)
100g small pasta such as conchigliette, coquillettes or ditali rigati
200g dried haricot beans that have been soaked overnight then simmered until soft
A handful of thyme sprigs
Three bay leaves
1 tsp sea salt and black pepper to taste
Olive oil for frying

* To peel the tomatoes, scoop out the core with a sharp knife and cut a cross in the bottom of each fruit.  Place in boiling water until the skins start to peel back.  Remove and place in a bowl of cold water.  The skins should now peel off easily.

For the pistou:

10 sundried tomatoes from a jar, drained of oil
30g finely grated parmesan
2 large garlic cloves, crushed
60ml extra virgin olive oil
A pinch of salt

Place the pistou ingredients in a blender and  blitz on full power for a few seconds.  Stir and blitz again until you have a smooth paste.  Put the sauce to one side or store in the fridge if it’s hot in the kitchen.

Sauté the onion, carrot and celery in the olive oil until they are soft.  Pour in the tomatoes and fry for a further five minutes.  Add the stock, thyme and herbs and leave to bubble for 20 minutes.  Then throw in the pasta and simmer again for ten minutes or so until cooked through.  Finally, stir in the cooked haricot beans and chard / spinach if using.   Remove the thyme stalks and bay leaves, then season with salt and pepper.

Pour the soup into individual serving dishes and top each one with a good spoonful of tomato pistou.  Ah, summer in a bowl.

IMG_20150916_211346

IMG_20150916_213509

Focaccia col formaggio

IMG_20150825_204810I’ve written about focaccia before but not specifically about cheese focaccia which is something altogether different.    We typically think of focaccia as a thick, dimpled yet fluffy bread, dripping in olive oil and crunchy with salt, sometimes garnished with a diverse range of toppings such as olives, onions and/or rosemary.  Cheese focaccia on the other hand is a true flatbread.  There is no yeast and the dough is rolled out as thinly as possible into two large discs which are then sandwiched together to hide a mouthwatering cheese filling: a filling so gooey and tasty that is difficult to achieve without using chunks of the tangy, fresh Crescenza cheese, a speciality of Northern Italy, made from cow’s milk.

For a while now I’ve been trying to reproduce the wonderful examples of this bread that we tasted in Genoa a year ago but I should point out that Genoa is not the original home of this iconic Ligurian snack.  It is Recco, a seaside town further along the coast to the east, and a place where once a year in May the Festa della Focaccia takes place celebrating focaccia in its many different forms.

festa di focaccia

Here in the UK, and in France where I spend some of my time, it is difficult impossible to find Crescenza cheese.  Taleggio or a blend of mozzarella and cheddar make reasonable substitutes, giving the characteristic oozing, melted cheese look and feel to the finished product.  But it’s not quite the same.  So imagine my delight on a recent visit to Lombardy to find Crescenza cheese readily available in supermarkets! We had driven to Italy with the thought that we might bring back some edible goodies so I was well prepared with a coolbox to transport this delicacy back to my kitchen in France, and it was well worth it.

Focaccia col formaggio

500g ‘00’ pasta flour
50ml extra virgin olive oil
250ml water
A pinch of salt
450g Crescenza cheese or alternatives as mentioned above

Heat the oven to 230°C.  Mix all the ingredients together, except for the cheese, and knead the dough to bring it together.  Leave the dough to rest for 20 minutes.

Split the dough into two pieces and roll each piece out as thinly as you can to fit the size of a round pizza base.  Place one half of the dough onto a round pizza baking tray, dot the cheese around it and then top it with the second piece of dough.  Crimp the edges to seal and drizzle with olive oil.  Bake in the hot oven for 15 minutes, but keep checking it as you cook as oven temperatures/flour types vary so much.

When browned and bubbling, take out of the oven, cut into slices and eat immediately.

IMG_20150825_185009

IMG_20150825_204001

Salsa marò or fava bean ‘pesto’

IMG_20150801_192554Just like last August’s post on a similar subject, I arrived in France, four days ago, with broad beans (fava beans) from the UK.  This time, however, there was a recipe on my agenda that had been there for too long and I had ran out of time to get to it back home.  Here in France the pace allows for more cooking.

Salsa Marò is a recipe from inland Liguria and the beautiful, bright green ‘pesto’ was traditionally used to tart up simple dishes of boiled, inexpensive red meat.  One recipe I came across involved the addition of anchovies which I did try and it certainly gives an added piquancy.   Nuts do not feature here so ‘pesto’ is not perhaps the right nickname for the sauce – it more closely resembles the niçois pistou which is nut-free.

Try the sauce on a toasted piece of crunchy pain de campagne (heaven – you could even top with some soft, fresh cheese for added extravagance), serve it with roasted meats or barbecued oily fish.

Salsa Marò

500g fava beans in pod (approx. 100g after podding, cooking and peeling the skins)
1 large clove of garlic, crushed
6 large mint leaves, finely chopped
20g pecorino, finely grated
Extra virgin olive oil to bind (approx. 75ml)
A pinch of salt

Blend the garlic and cooked, peeled beans in a pestle and mortar or a blender until you have a coarse paste.  Add the mint, cheese and salt and stir them in gently.  Finally add the olive oil gradually, stirring until you reach the consistency of pesto.

IMG_20150731_200549

IMG_20150731_203411

Tomates provençales

IMG_20150615_154514As we start to come into the tomato season, more in the Mediterranean areas than here in the UK of course, I’ve been turning my attention to tomato recipes. When tomatoes first appeared in Italy in the 1600s they weren’t adopted by peasants as a daily food because they weren’t seen as being as filling as other vegetables and it wasn’t until the mid-1800s that tomatoes began to feature in Ligurian cookbooks. The tomato marched north after arriving in Italy and the French took to them more easily putting an aphrodisiac spin on them and calling them pommes d’amour.

Today tomatoes are widely used in the cuisine of both countries in salads, daubes, ragus, tarts, sauces and soups. They are routinely stuffed, sun-dried, preserved and roasted but one simple recipe that makes an appearance on my table several times each summer is tomates provençales. Perfect when served alongside an anchovy and garlic studded roast lamb, these crispy, herb-topped tomatoes are just as good served as a light lunch with a hunk of pain de campagne to mop up the juices. This tasty little dish seems to me to be the epitome of simple Provençale cooking, making the most of available ingredients in season and adding herbs and olive oil to impart a distinct regional feel.

Look out for the many colourful displays of tomatoes in the region’s markets at this time of year, pick up a bag for yourself and have a go.  This recipe is based on Mireille Johnston’s version in her book ‘The Cuisine of the Sun’.

Tomates provençales
Serves 4

4 large, ripe tomatoes
A handful of parsley or basil, finely chopped
2 tbsps breadcrumbs
1 large clove of garlic, crushed
Extra virgin olive oil

Slice the tomatoes through their middles and drain them, cut-side down on kitchen towel.  Fry the tomatoes, again cut-side down, in a little olive oil for five to ten minutes on a medium heat. Place them in a baking tray, cut-side up this time and sprinkle with the herbs, garlic, and breadcrumbs.   Season with salt and pepper, drizzle with olive oil and pop into the oven at 190°C for twenty minutes until the tomatoes are crispy and golden on the top.

IMG_20150614_181504

IMG_20140819_123222

AllAboutFranceBadge

Beignets de feuilles

IMG_20150531_174805This is a very quick post for a very quick and easy canapé dish that showcases the abundant crop of green salad leaves and delicate herbs flourishing at this time of year.  Here in Dorset, we have wild rocket, basil, chives, mint, peashoots, wild garlic and sage in the garden and the local woods, so I have been making the most of them.

Recipes for beignets are common to all my provençal cookery books be they recent publications or older, more traditional recipe collections.   Most of the recipes I have consulted involve frying a single piece of vegetable such as courgette or aubergine, but we need not limit ourselves here.  A myriad of ingredients lend themselves to battering it seems.  I’ve come across recipes featuring anchovies, salt cod, potatoes and courgette flowers (see my chickpea flour version of the latter here) and let’s not get sidetracked right now by sweet beignets…..

Eggs are almost always used in the batter mix but the simple recipe below uses just ’00’ pasta flour and sparkling water to bind the chopped herbs and leaves.  These herby fritters are packed with spring flavour and the simplicity of the batter makes them light and not too filling.  Serve them hot, just out of the pan with a glass of rosé (Tavel worked for us) or fizz.  A little aïoli, pesto or fresh tomato sauce on the side as a dip is always popular too.

I used rocket, basil, chives and a little sage for my beignets this time but you can use whatever you have to hand or what’s available locally.  Spinach and chard work well with some flavoursome herbs to accompany them in the mix.

Beignets de feuilles (makes 16)

30g rocket leaves
A handful of basil leaves
A handful of chives
6 large sage leaves
100g 00 flour
150ml sparkling water
A good pinch of salt
Groundnut or sunflower oil for frying

Rinse the leaves, pat them dry and then roughly chop them.

Whisk together the flour, sparkling water and salt, then add the leaves to the batter and mix thorougly.

Heat the oil in a deep frying pan and, once it is hot, add a teaspoon-sized, test ball of the batter.  If the batter mix sizzles nicely, you know the oil is ready. Gradually add desertspoon-sized portions of batter, but don’t overcrowd the pan – four to five at a time works well.  Turn the fritters in the oil until they are crisp all over and lightly browned. The kitchen will be filled with the aromas of the various herbs by this stage – my family came running from all ends of the house and garden!   Drain the fritters on kitchen towel and serve immediately with your choice of dip.

IMG_20150531_175934 (1)

IMG_20150504_121941

IMG_20150504_121501

IMG_20150504_120559

IMG_20150504_120956

Barba Juan / Barbagiuai or fried ‘ravioli’

IMG_20150406_203943Barba Juan, or Barbagiuai if you’re over in Liguria translates as ‘Uncle John’ and the relevance of the name for this delicious, local dish remains a mystery for most.  In his book ‘Flavours of the Riviera’, Colman Andrews offers one or two possible explanations, and the one that seems most plausible is that in Nice years ago the term barbajouan meant simpleton.  Whilst Barba Juan was indeed a simple dish incorporating produce available locally, this is perhaps not the most satisfying term to use to describe it.

So what is Barba Juan?  It’s often described as fried ravioli though most recipes use a much heavier dough mix than is typical for pasta.  Small pockets of a pastry-like dough were stuffed with vegetables and cheese, with the addition of rice and ham being quite common too.  These little pouches of tastiness were then shallow-fried in olive oil.  The result is more like an English vegetable pasty than anything to do with ravioli, in my opinion, and the author of ‘The Cuisine of the Sun’, Mireille Johnston, has them down as pastry turnovers.

The pastry is usually made from flour, olive oil and a little egg, adding water where necessary to form a smooth dough.  I was intrigued, however, by a recipe from the province of Savona in Liguria which suggested using the local Vermentino wine to bind the dough and I have given details in the recipe below (it works!), but you could use water instead.

In the winter months, the main vegetable used for the filling would be some form of squash (which I favoured for my experiments with the recipe), whilst in spring and summer, chard or spinach were more common ingredients (that will follow – watch this space……).  Jacques Médecin, writing in ‘Cuisine Niçoise’, informs us that this latter, summertime version should be called boussotou.

Barba Juan are not difficult to make – the dough is easy.  As a canapé, they’re perfect! We munched happily on our ‘pasties’ on the terrace on a sunny, early Spring evening with a glass of Rolle bien sûr!

Barba Juan / Barbagiuai

350g butternut squash, chopped into large chunks and roasted in a little olive oil
200g ricotta
1 egg, beaten
40g grated parmesan
A small handful of chopped oregano
200g plain flour
40ml olive oil
Dry white wine or water to bind the dough

Mix together the filling ingredients – squash, ricotta, egg, parmesan and oregano – using a food mixer or a hand-held masher.  Keep cool in the fridge.

In a bowl, bind the plain flour and olive oil then add wine or water until you have a smooth, heavy dough.  Leave the dough to rest in the fridge, wrapped in film, for an hour or two.

When you are ready, roll the pastry out to 2mm thick and cut with a round pastry cutter that is 7cm in diameter.   This will make canapé-sized turnovers but you could make larger ones to serve as a starter or for a picnic lunch.

Place a teaspoon of filling on each circle of pastry, brush the edges with a little water and seal.

Fill a large frying pan with olive oil to a depth of 3cm and heat it up until hot.  Add a few pasties at a time and turn them over part way during cooking, ensuring that they are beautifully browned on either side.  Serve as soon as possible.

IMG_20150405_190556

IMG_20150406_093340

IMG_20150406_115232543

IMG_20150406_123118