La Fougasserie, Nice

IMG_20140819_124848 (2)

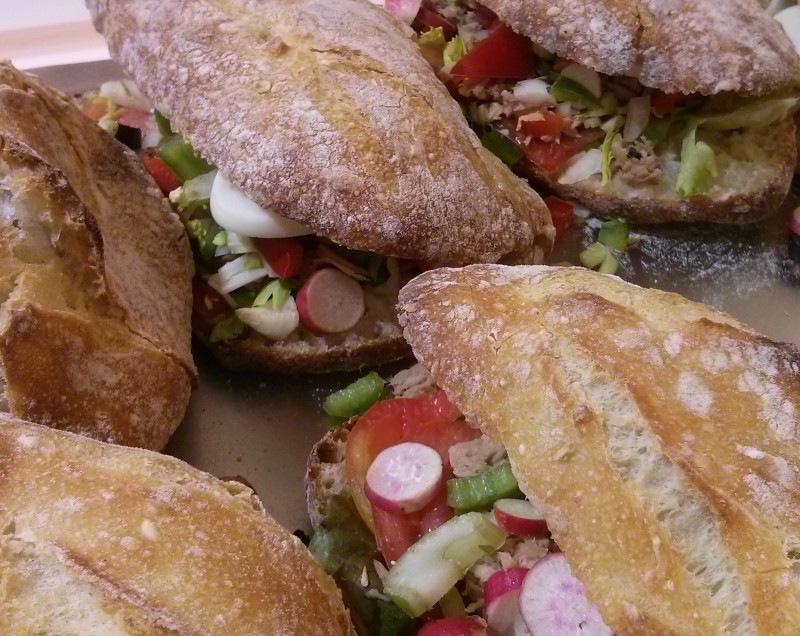
A cousin of the Ligurian focaccia, which is also known as fugassa over there, fougasse is a provençal loaf easily recognised by the slashes cut through it prior to baking.   Back in August, after a mooch round the beautiful Cours Saleya food and flower market in Vieux Nice, we went in search of a bakery I had heard good things about whose name called out to me – La Fougasserie.   Heading off down the rue de la Poissonnerie, a narrow, old town alley just off the market square, we found bread heaven at No. 5.  It was approaching lunchtime as we arrived and the olive fougasse which I had really set my heart on had sold out, but no matter.  There were still ample stocks of plain fougasse with a tempting range of other breads and sweet treats.  And don’t get me started on the pan bagnat!  Business, unsurprisingly, was brisk at La Fougasserie.

IMG_20140819_125041 (1)

IMG_20140819_204838

As much as we enjoyed the plain fougasse, and we did hugely, the craving for olive fougasse just wouldn’t subside so back home in the UK I had a go myself.  What I love most about fougasse is that it’s common to add all sorts of delicious, chopped-up extras to the dough.  Olives and herbs are perhaps seen most widely, but sundried tomatoes, ham and cheese work well too.  In my recipe, I’ve grated a little gruyère cheese and folded it into the dough with the olives, and this seems to make for another of those ‘don’t blink or it’ll all be gone’ snacks that won’t hang around for long in my house.  With that in mind, you’ll be relieved to know that this bread is great for part-baking, freezing and bringing out another day for the final bake.  All the details are below.

Olive and Gruyère Fougasse

Makes two loaves

A note on flour types: You can use strong white bread flour although experiments using 00 pasta flour have been pretty successful too.  To make a more rustic loaf I have mixed stoneground spelt flour with white bread flour (half and half) for a slightly heavier texture.

500g flour of your choice
12g dried yeast
5g salt
50ml extra virgin olive oil
280ml warm water
100g gruyere cheese (or parmesan), grated
Two large handful of black olives, roughly chopped

In a bowl (or a food mixer with a dough hook) combine the flour, yeast, salt, olive oil and water.  Knead the dough for ten minutes until it is smooth, elastic and non-sticky.  If using a mixer, follow the machine’s instructions for making bread dough.  Place the dough  in an oiled bowl covered with a cloth and leave it in the kitchen for an hour to prove by which time it should have doubled in size.

Put the dough on a lightly floured surface or board and cut it in half.  Roll each dough out to around 20cm by 15cm and sprinkle each one with half of the chopped black olives, but leave a few to decorate the top of the loaves.  Press the olives into the dough.  Fold a third of the dough over into the middle and then fold in the other third to cover it so that all the olives are contained within the dough.  Roll out again to 20cm by 15cm and repeat the same procedure for the cheese, using all of it this time as none is required for decoration.

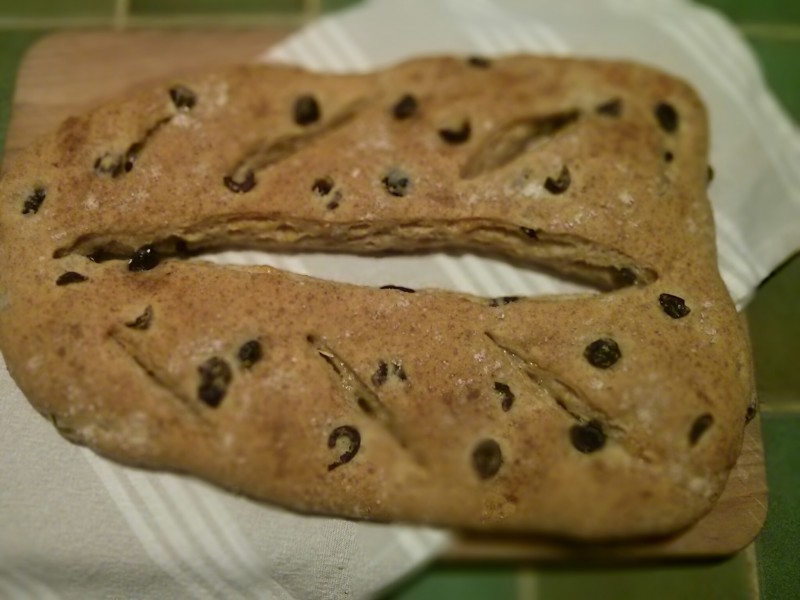
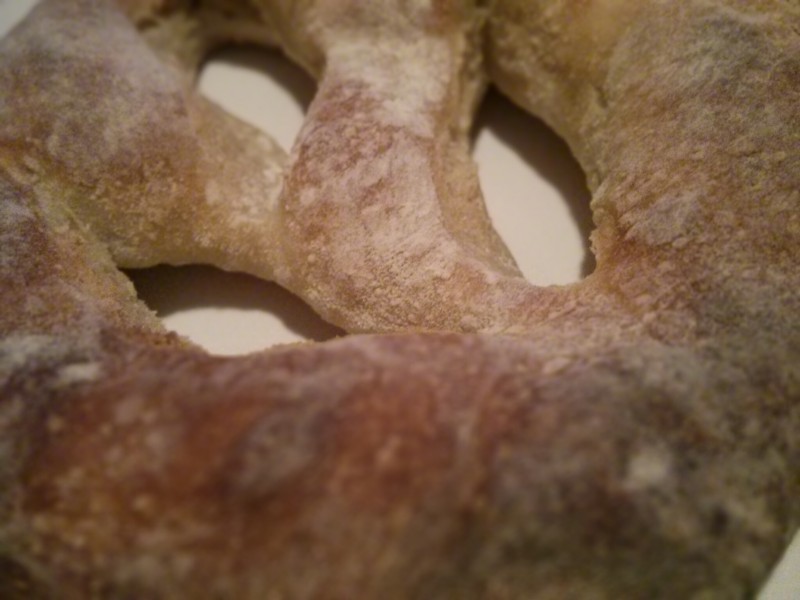
Roll each piece of dough out to approximately 30cm to 20cm but try to taper the top end of the loaves so that one end is thinner than the other in the typical fougasse style – see the photos below.

Slash the loaves down the middle and in smaller diagonal cuts fanning out from the centre – again see the photos below.  You should cut right through the dough when making these incisions.

Stud the dough with the remaining chopped olives and place each loaf on a floured baking tray, cover with a cloth and leave to prove for a further 30 minutes.  Turn the oven on to the maximum setting – 220°C.

Uncover the loaves, sprinkle them with flour and bake, one at a time, in the oven for 15 minutes or until lightly browned on the top.  Reduce the baking time to 8 minutes if you plan to freeze the loaves, allow them to cool then place in the freezer in plastic freezer bags.  Cook from frozen at 200°C for 10-12 minutes.

Enjoy! In our house, we love to cut slices of the bread and dip them in a bowl of extra virgin olive oil – provençal of course!

IMG_20141018_172545

IMG_20141018_182230

And Pistou?

IMG_20141009_214332It never ceases to amaze me how most people know exactly what pesto is yet when you mention the term pistou, it’s blank faces all round.  This no-nut French cousin of pesto is just as delicious and even easier to make.  No toasting of pine nuts required here.

So, as pistou forms one half of my blog’s title, I thought it was about time we did it justice and featured its many attributes in a post dedicated to this most provençal of accompaniments.  Commonly associated with the dish soupe au pistou, a hearty, chunky vegetable soup which will feature on this page soon, pistou uses basil as its flavouring as does the classic pesto, but there tends to be more cheese and garlic than you would see in the Italian version.  Just as recipes for pesto nowadays use all manner of herbs and nuts, I’ve gone for a sage pistou here as it’s a great match with autumnal courges (squash) many varieties of which seem to be on display everywhere I look right now. If you want to stick with basil for your pistou, just use twice as much as I’ve quoted for the sage in the recipe.

IMG_20140916_175816

Regardless of your choice of herb, pistou comes with a warning: it is very garlicky, so use a little less than I’ve recommended if you’re anxious about it.  Traditionally made in a pestle and mortar, this recipe works just as well in the blender and frankly I suspect you are more likely to try this quicker method at home.  As with pesto, pistou is to be added to hot soups and pasta and should never be cooked on its own.

The sage pistou is a great match for the green gnocchi in my last post and would be lovely drizzled over just-out-of-the-oven, roasted autumnal vegetables.  Or why not stir a generous spoonful into a homemade pumpkin or squash soup? Not quite soupe au pistou but warming and satisfying all the same.

IMG_20141015_192051 (5)

Sage Pistou

10g sage leaves, torn roughly
15g garlic, crushed
50g parmesan, finely grated
100ml extra virgin olive oil
A pinch of salt

Place all the ingredients in a blender and whizz for a few seconds until everything is combined.  Taste and add more salt if necessary.

The sauce will keep for a couple of days in the fridge or longer if you cover it with a thin layer of extra virgin olive oil.

Les Gnocchis Verts (green gnocchi)

IMG_20140308_194338La Merda dé Can is the niçois name for these gorgeous, green gnocchi made with swiss chard or spinach.  The literal English translation of the term will not be repeated here as it’s less than flattering, but I am sure you can work it out for yourself.  Now, soggy gnocchi equal stodgy gnocchi so experiments have been many in our house – my family is very patient – in the pursuit of a foolproof recipe for the light, elegant parcels I have many a time seen for sale in Vieux Nice.

The principal ingredient is potatoes and they should be the floury variety. Boiling them in water, the traditional way, adds moisture of course and they need then to be dried out.  A lot.  No amount of sitting the cooked potatoes on a bed of salt, as some recipes suggest, does the job quite as well (for me) as baking the potatoes in their jackets.  Not conventional, I hear you scream but it works every time.  And anyway, this blog is about investigating and not simply regurgitating old recipes.

To dress the just cooked gnocchi, just scatter some grated parmesan and add a drizzle of your best extra virgin olive oil.  It’s traditional to serve them with the juices from a beef daube in winter or, in summer, with a fresh tomato sauce. If you’ve time to whip up a pesto or pistou to top these beautiful pillows of fluffiness so much the better, and a white wine from the Luberon, as an accompaniment, will finish things off to a tee.

IMG_20141012_153243

Les Gnocchis Verts

3 large floury potatoes weighing approximately 1kg
200g swiss chard or spinach
350g all purpose flour
1 large egg, beaten
A good pinch of salt

Wash and dry the potatoes, prick the skins and place in a preheated oven at 200°C.  Bake until the skins are crisp and you can stick a fork into them easily.  This should take about an hour.

Wash the chard or spinach and remove any thick stalks.  Place the leaves in a saucepan and add cold water, not to cover the greens completely but just enough to cook/steam them.  Put the lid on and bring to the boil on a medium high heat, watching them regularly to ensure the water doesn’t boil dry.  Once the greens have wilted, which will take 5 minutes or so, remove them from the heat and drain in a sieve.  Leave to cool.  Then squeeze the moisture out of the greens and set aside.

Once the potatoes are ready, take them out of the oven and leave them to cool a little before scooping out the flesh and mashing it.  Allow to cool a little more before mixing all the ingredients together to form a soft dough.

Sprinkle a dusting of plain flour onto a chopping board and shape small handfuls of the dough into long, thin rolls about the thickness of your thumb. Cut the rolls into 3cm cylinders and leave to dry for half an hour or so, covered with a clean tea towel.

To cook the gnocchi, bring a large saucepan of water to the boil, add the salt and drop them into the water.  When they rise to the top, they are ready.  This takes two to three minutes.  Drain the gnocchi and serve immediately with your choice of delicious adornment!

Unused gnocchi dough can be kept quite happily in the fridge, wrapped in film, for a couple of days, but do give them a good dusting of flour when you roll them out as they can become a little sticky.

IMG_20140308_205935 (1)